The British 1st Airborne division has dropped west of the sleepy Dutch city of Arnhem on the northern bank of the Rhine river. Moving parallel to the river along the roads into the city, the 1st Division is charged with grabbing and holding the vital bridge in the city center.
Confusion has reigned since 1st Airborne's arrival. Radios are missing important parts causing confusion up and down the command structure, unexpected German units appearing from the north, west and east as well as in the city center have halted many of the advancing elements. Only along the river itself has Colonel Johnny Frost's battalion managed to slip relatively unopposed to the bridge itself.
As the division struggles to get it's bearings and race for the bridge, west of the city I take command of the 1st Airlanding brigade charged with protecting the drop zones that must be held for vital re-supply and the follow-on elements of the division.
 |
| The situation. While the division pushes towards the bridge the 1st Airlanding brigade holds the drop zones against Kampgruppe Tettau. |
The situation is tense. German troops are flowing into the landing zones from the west along two initial axes of attack. The first is along the highway that runs parallel to the Rhine and the second along a rail line that slices the drop zones in two. In between them there are wide open expanses of heath bordered by forest.
The brigade is spread out with it's largest formation, the King's Own Scottish Borderers (KOSB) battalion clustered in the north.The highway to the south is thinly guarded with a company entrenched on the slope above the highway supported by two mortar companies. The brigade's artillery batteries are in the rear and on call.
At the scenario start, with German columns from Kampgruppe Tettau approaching, my initial moves are to pull troops from the north to strengthen the center.
 |
| The center looks vulnerable so I begin by moving a mortar company and parachute infantry company from the north to plug the hole in the south. |
The first wave of reinforcements are scheduled to arrive in 10-11 hours from the start of the scenario. German attacks intensify almost immediately and I am wondering if I will be able to keep control of the drop zones. In their rush to attack us the German forces are coming on without artillery support. Everything is in motion to the west.
After bolstering the center I turn my attention to Heelsum in the south. My troops are dug in just east of Renkum but there is a huge gap between any possible reinforcements and my perimeter. German heavy machine gun companies and motorized infantry are moving in to attack.
 |
| Heelsum in the south is thinly defended. My artillery further to the rear are prioritizing support barrages here over the fighting in the north. |
My artillery assets are firing continuously on the advancing German troops near Renkum. I have almost nothing to reinforce the south but I am able to move one infantry company along the highway towards Heelsum.
Shortly afterwards disaster strikes. My first tactical blunder comes from misreading the situation off map to my east. This early on in the battle for Arnhem bridge I did not think the columns from our division would be giving up ground to German units but suddenly I am attacked from the north and the east by German units rushing to the battlefield.
These attacks force me to strip away units I can't afford to move to protect the division headquarters near Wolfheze. My brigade artillery batteries also come under threat from these attacks and I am forced to move them as well. While they are in transition I am without one of my best battelfield assets.
 |
| German units are moving from west to east along the highway to the north outside of my artillery range. |
 |
| 1st Division's HQ comes under attack as German units strike from an unexpected direction. I am forced to strip away troops from the south and west to defend the HQ. |
The fighting along the rail line has been in hand for much of the battle but with 2 hours to go before reinforcements arrive I am getting nervous. German forces are now attacking on 3 sides of my perimeter.
 |
| The rail line runs right into the center of my positions, splitting Renkum Heath from Groote Heath. |
 |
| Renkum Heath and Heelsum to the south are critical to the scenario. |
Reinforcements are only 2 hours away now and I am assuming they will make the adjustments to drop inside Renkum Heath. I don't know where they will drop but Groote Heath to the north of the rail line has been overrun by Kampgruppe Tettau. The KOSBs are holding the woods to the east of this LZ but I don't have the resources to attack and drive the Germans off the heath.
My worst fears are confirmed when shortly after 1500 hours the 10th and 11th parachute battalions from 4th brigade drop on the other side of the German lines. Motorized SS units and German Luftwaffe units stand between me and my reinforcements. I begin ordering these units almost immediately to try to breakout to the east. Divisional artillery units shift their fire away from the south and begin pounding the German positions between my units.
 |
| Groote Heide is about to get busy. |
As the 10th and 11th get their bearings the remainder of the 4th brigade jumps onto the Groote Heath. Only a Glider Pilot squadron, a Polish AT gun unit and elements of the 2nd South Staffordshires land safely inside the protected Renkum Heath.
 |
| The fight to save the 4th brigade is underway. All my artillery assets are concentrating their fire on the German units south of the 4th brigade and the SS companies east of them. |
In the south I am purposefully shortening my lines to minimize the risk of breakthrough but this has opened up the highway objective south of Wolfheze which quickly falls to German units pushing past Heelsum.
 |
| Reinforcements have arrived and situation around Heelsum which was dire is now stabilizing. |
The highway objective falls to German troops and now I am being attacked from a 4th direction. This attack has to cross a tributary of the Rhine and then fight its way through wooded ground towards Wolfheze. If I can get the 10th or 11th out of the pocket around Groote Heath I can shift the KOSBs south and east to block this penetration.
 |
| The fighting on Groote Heath is intensifying. In the north the 10th battalion is streaming off the heath in column while in the south the 11th and 156th are turning back German attacks from across the rail line. |
I am using my artillery assets to open holes in the German lines so the 4th brigade can move off the heath into my perimeter. A well timed airstrike is directed on the Germans in the woods north of the rail line. 11th battalion has also slipped the noose and is in the woods east of the heath rushing to join the 10th. The 156th is still fighting and AT platoons are defending the 4th's HQ and base in the center of the heath.
 |
| A well timed airstrike has driven the majority of German units south of the rail line. |
While the fighting is well underway around Groote Heath, the KOSBs are deploying south of Wolfheze while 2 companies from the 2nd South Staffordshires take up positions in defense of Heelsum. The German attack there is being carried by a battalion of SS motorized troops and some Luftwaffe and naval units I believe.
 |
| Germans are outflanking my positions in an around Heelsum using the road which runs east into Arnhem. |
The 156th, 10th and 11th have moved off the heath and joined the perimeter. The 4th brigade HQ ignores repeated orders to do so and stays on the Heath with a handful of support units. I need to read up more about giving orders. I've had to micromanage each company from the 3 line battalions breakout but still can't figure out how to move the base or the HQ more than a few hundred yards it seems.
 |
| The death of 4th brigade is coming as an SS battalion concentrates for an attack. The artillery bombardment of my surrounded units is almost continuous now from the German artillery and mortar assets south of the rail line. |
With 7 hours to go the battlefield is in flux. I am in a better position than I was about 12 hours ago when the reinforcements parachuted in but I am being attacked on all sides and the Germans have unrestricted movement in the south along the highway. I am unable to concentrate my artillery fire to try and interdict these units because I am using the artillery to defend against attacks in and around my perimeter.
 |
| Where things stand with hours to go. |
The battlefield momentum is swinging to neutral away from the Germans. I by no means feel like I am winning but it doesn't seem as dire as it did immediately following the 4th's arrival. I am controversially perhaps cutting the 4th brigade HQ loose on the field. I don't know if a commander would do this on the battlefield but with so much time left in my scenario, I need to conserve my resources until the final few hours before I try to reach them again. I am going to move them further west into the woods to try and by time.
In the south, the fight for Heelsum is raging. The highway objective is back in hand and I am shifting my artillery assets to support the defense of Heelsum.
 |
| The German attack on the Heelsum objective is well supported by artillery. |
Artillery and two reinforcement companies help me keep the German advance in check. In the center along the rail line I concentrate six companies from the 156th, 10th, 11th and KOSBs for an attack along the rail to try and relieve the remnants of the 4th brigade.
After an artillery bombardment these companies push forward in attack.
 |
| This attack drives the outnumbered frontline German companies back while artillery pounds their second line formations that are moving forward. |
And just like that the battle is over and to my surprise I've actually won a decisive victory. I've been on the defensive for almost 40 hours. In the final hour I finally launched an offensive attack. I've dealt with numerous penetrations and shifted broken units around trying to plug holes since the 4th brigade jumped onto the heath. I've lost over 1000 men but I've inflicted almost 2000 casualties on the opposing German force and taken 600 prisoners.
 |
| I didn't see this result coming. |
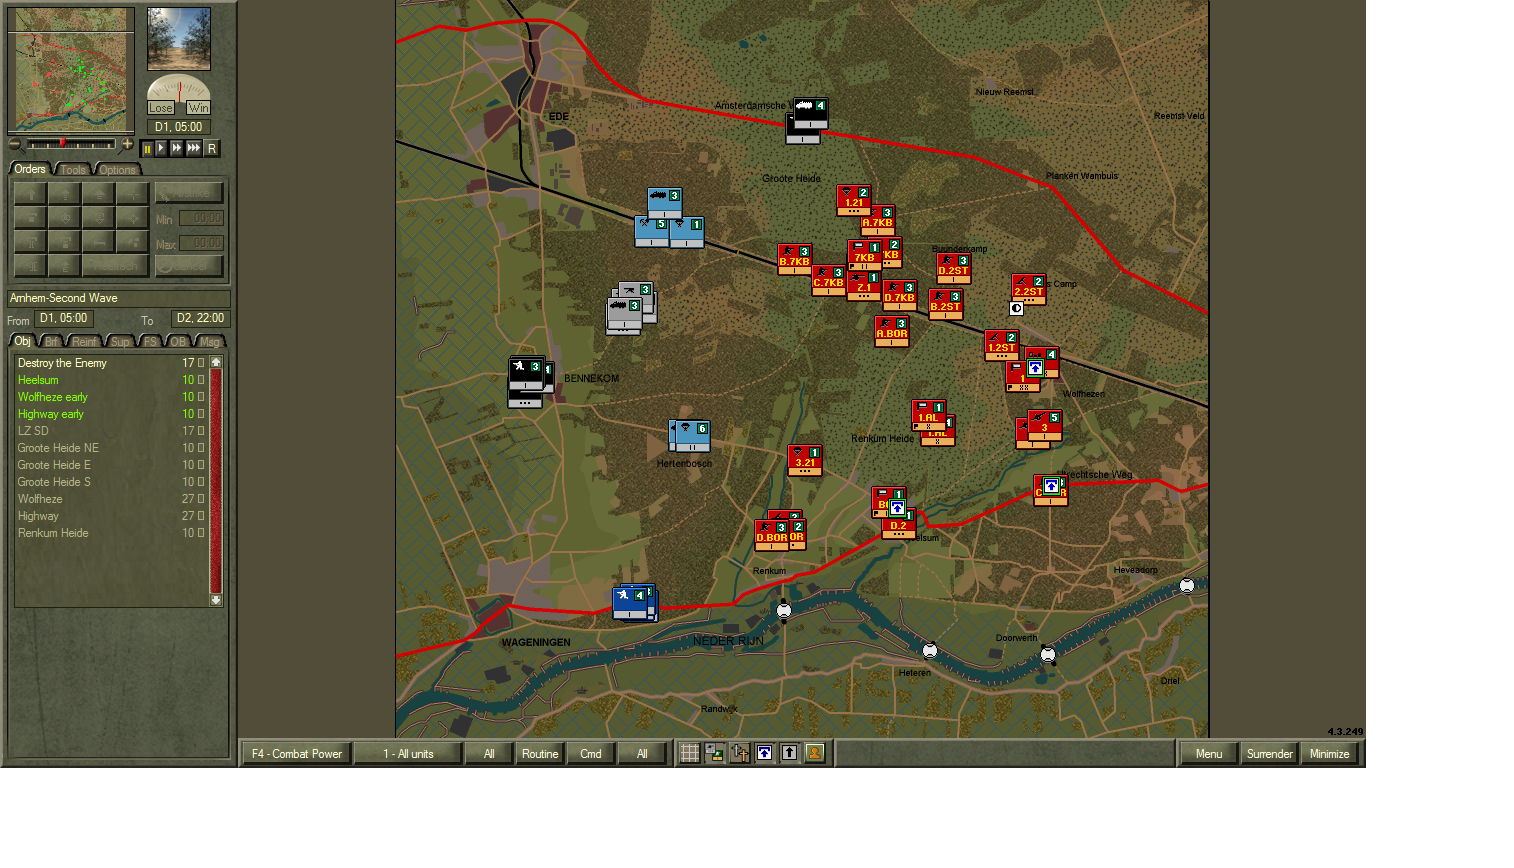
 |
| The final situation map. |
This scenario was really stressful. I felt surrounded and was. This is so early on in the battle for Arnhem bridge that I can't believe the 1st Airborne survived for as long as it did. German attacks were almost continuous and the degree of confusion on the field was overwhelming at times. Supply for this battle was such a big deal.
Final thoughts
I need to read up on issuing orders. I need to learn the German unit counter colors. The Republican Guard strategy I employed in the Joe's Bridge scenario didn't make sense here so I never tried it. I concentrated fire on the threats to my positions and breakthroughs irregardless of the quality of troops.
Can't wait to play again. Maybe something smaller.


Comments