The Devil's Den scenario is an hour long, and for me so far, it is one of the toughest scenarios I have played. You command the 2nd Union brigade in the First Division of Second Corps. Four regiments are at your immediate disposal and two more regiments (1st, 2nd US Sharpshooters) are detached from your main body of men.
You are charged with defending the rocky spur known as Devil's den and the Rose woods in the center and on the right flank of your position as well as maintaining a line of defense to the left of Devil's Den across some rocky, sloping ground up into the woods of Little Roundtop.
That's a tall order for just four regiments. I was stretched thin with gaps on my flanks and in the center.
The fighting takes place on the 2nd day of Gettysburg, July 2nd at 4:30PM and for me, it went like this:
I did not know I had two additional detached regiments I could give orders to, so I defended the ground I had with four regiments for the duration of the battle. I kept two atop Devil's Den and two more (incl. 4th Maine, see below) drawn up straddling the gap between the rocky outcrop pictured below and the woods of Little Roundtop on my extreme left flank.
Historically General Ward didn't extend his flanks to cover the gap. He drew all four regiments up on the ground in front of the Devil's Den and in the Rose Woods.
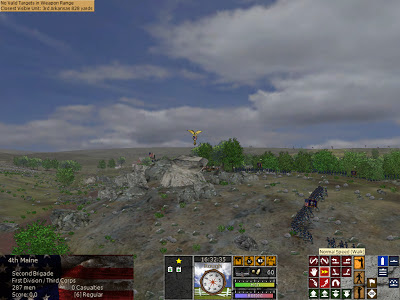 |
| The 4th Maine heads to the right flank. |
|
Combat engaged quickly with at least one brigade arriving opposite my 99th Pennsylvania Regiment.
 |
| 99th Pennsylvania takes position as Confederates arrive. |
 |
| The 99th took position behind a stone wall to face Robertson's brigade (Hood's Texas division). Behind me is a battery of 10 lb guns under an independent command. To the right of the 99th, I stationed the 124th New York Regiment to cover the Rose Woods approach to the Den. |
 |
| The battery is fully engaged. |
 |
| The right flank engages. |
|
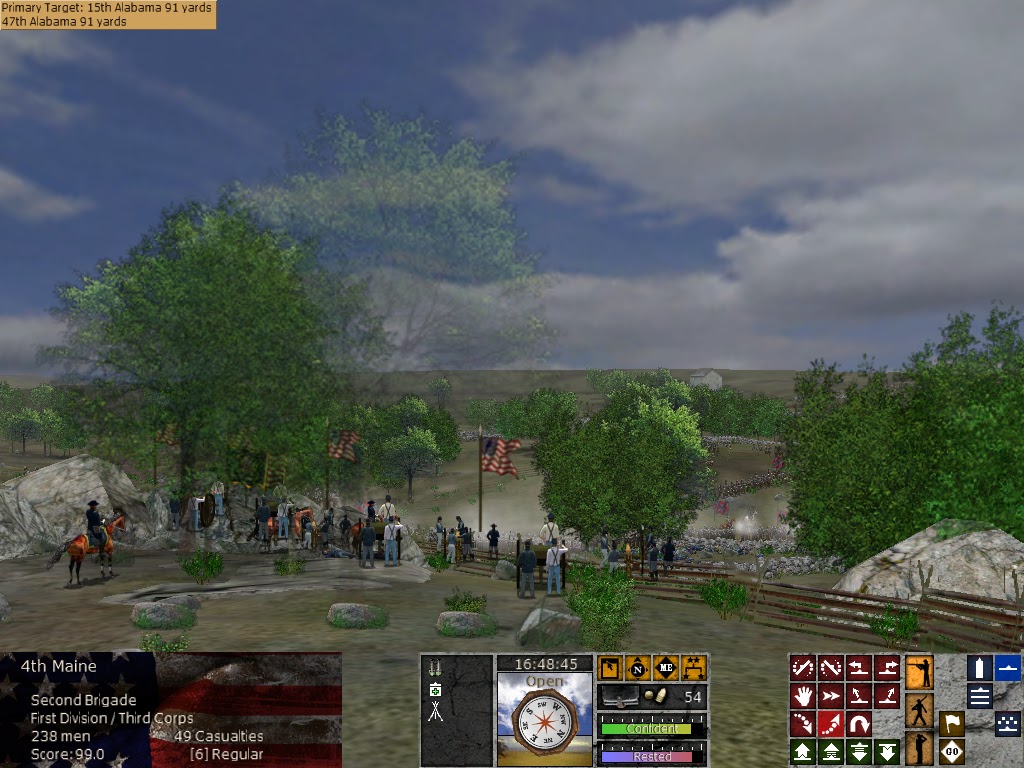
The 4th Maine held the left flank and quickly became fully engaged. Swarms of Confederate regiments made their way up the open slope in an attempt to outflank the battery and my position.
 |
| The 4th Maine locked in hand to hand combat as Rebel troops push towards the summit. |
|
In the center the fighting took a turn for the worse. The 99th Pennsylvania surrendered and the 20th Indiana after becoming hotly engaged fled in panic.
 |
| The 99th Pennsylvania surrenders. | |
 |
| Rose woods fighting. |
|
The 20th Indiana breaks and the Devil's den falls to Hood's Texans.
 |
| 20th Indiana flees the field. |
|
|
|
 |
| The Devil's Den falls. |
While the Den falls, the 4th Maine fights until the end.
 |
| The 4th Maine surrenders. |
|
 |
| The dead. |


Comments